AnomalyDetection
Full workflow for AnomalyDetection models — labeling, training, downloading, and comparing results.
AnomalyDetection models use the Anomalib engine to detect anomalies in images. The workflow is based on compliance labeling: you upload images, label them as good or defected, train the model, and download the result.
AnomalyDetection cards use the Anomaly type badge and show a compliance summary for good, uncertain, defected, and unclassified images.
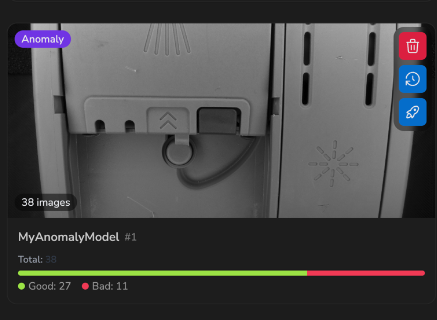
Workflow
The AnomalyDetection model follows three phases: Labeling → Training → Download.
1. Labeling
Upload images to the model’s dataset. Then open the gallery and label each image with a compliance label:
| Label | Color | Meaning |
|---|---|---|
| Compliant | Green | No defect — good image |
| Defected | Red | Defect detected — bad image |
| Uncertain | Yellow | Borderline or imported result |
Select Edit in the gallery, choose one or more images, then use Compliant, Defected, Exclude, or Delete. The current bulk toolbar does not provide an action for manually assigning Uncertain.
Minimum requirements to train:
- 20 compliant (good) images
- 5 defected (bad) images
2. Training
Use Train model on the card to start directly after the requirements check, or select Train in the gallery to open the Pre-flight summary showing:
- Good images: current count / 20 minimum — ✅ or ❌
- Defected images: current count / 5 minimum — ✅ or ❌
If the minimums are not met, a warning is displayed and the Start Training button is disabled.
Once training starts, the card displays status overlays such as Queued, Training…, Validating models…, and Uploading models….
3. Download
When training completes, the card displays Training Completed and an orange notification dot. Open Training History from the card or from the history icon in the gallery.
In the download modal:
- Expand a completed training run.
- Select an exported result; the highest-scoring one is preselected and marked suggested.
- Choose Target device….
- Select Download to generate and download the ZIP file in the browser.
Comparing Results
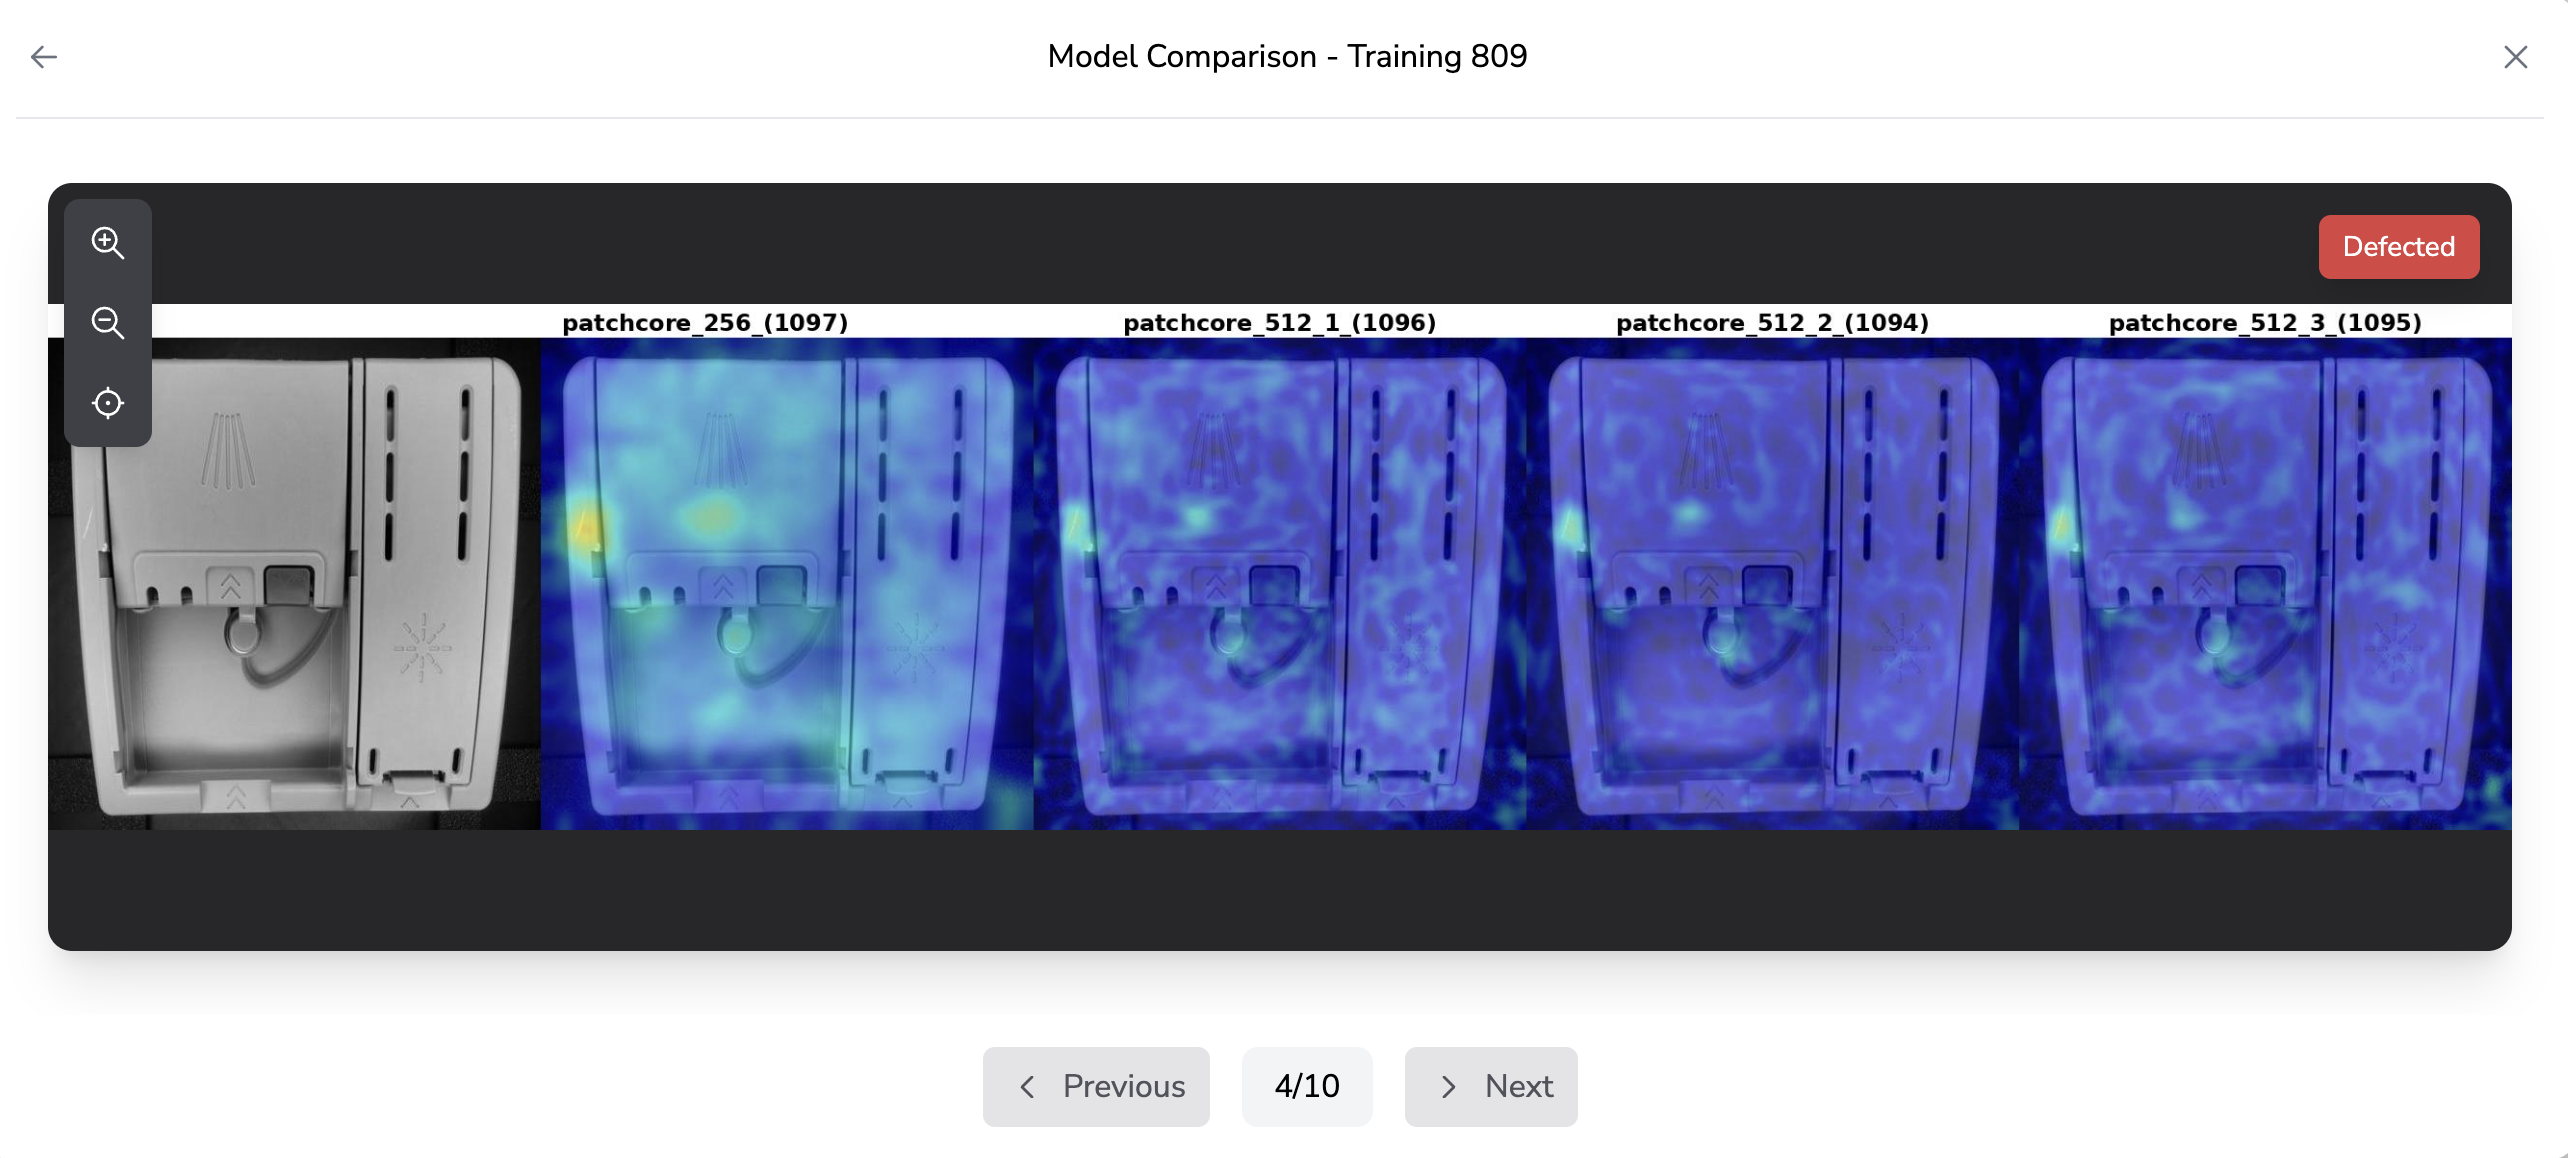
AnomalyDetection models support a comparison viewer. In the download modal, click Compare to open it.
The comparison viewer shows a full-screen image browser where each image displays:
- A compliance badge in the top-right corner:
- Compliant — green
- Defected — red
- Uncertain — yellow
- Unknown — gray
- Navigation via Previous / Next buttons or keyboard arrows (← →)
- A page counter (e.g., “3 / 25”)
This helps you visually verify the model’s predictions before deploying.
Info Tooltip
When hovering over an AnomalyDetection card, the info tooltip shows:
Model Name
Model #ID — Type: AnomalyDetection
───
Total images: N
───
Images labeled: N
Good: N
Defected: N
Gallery Features
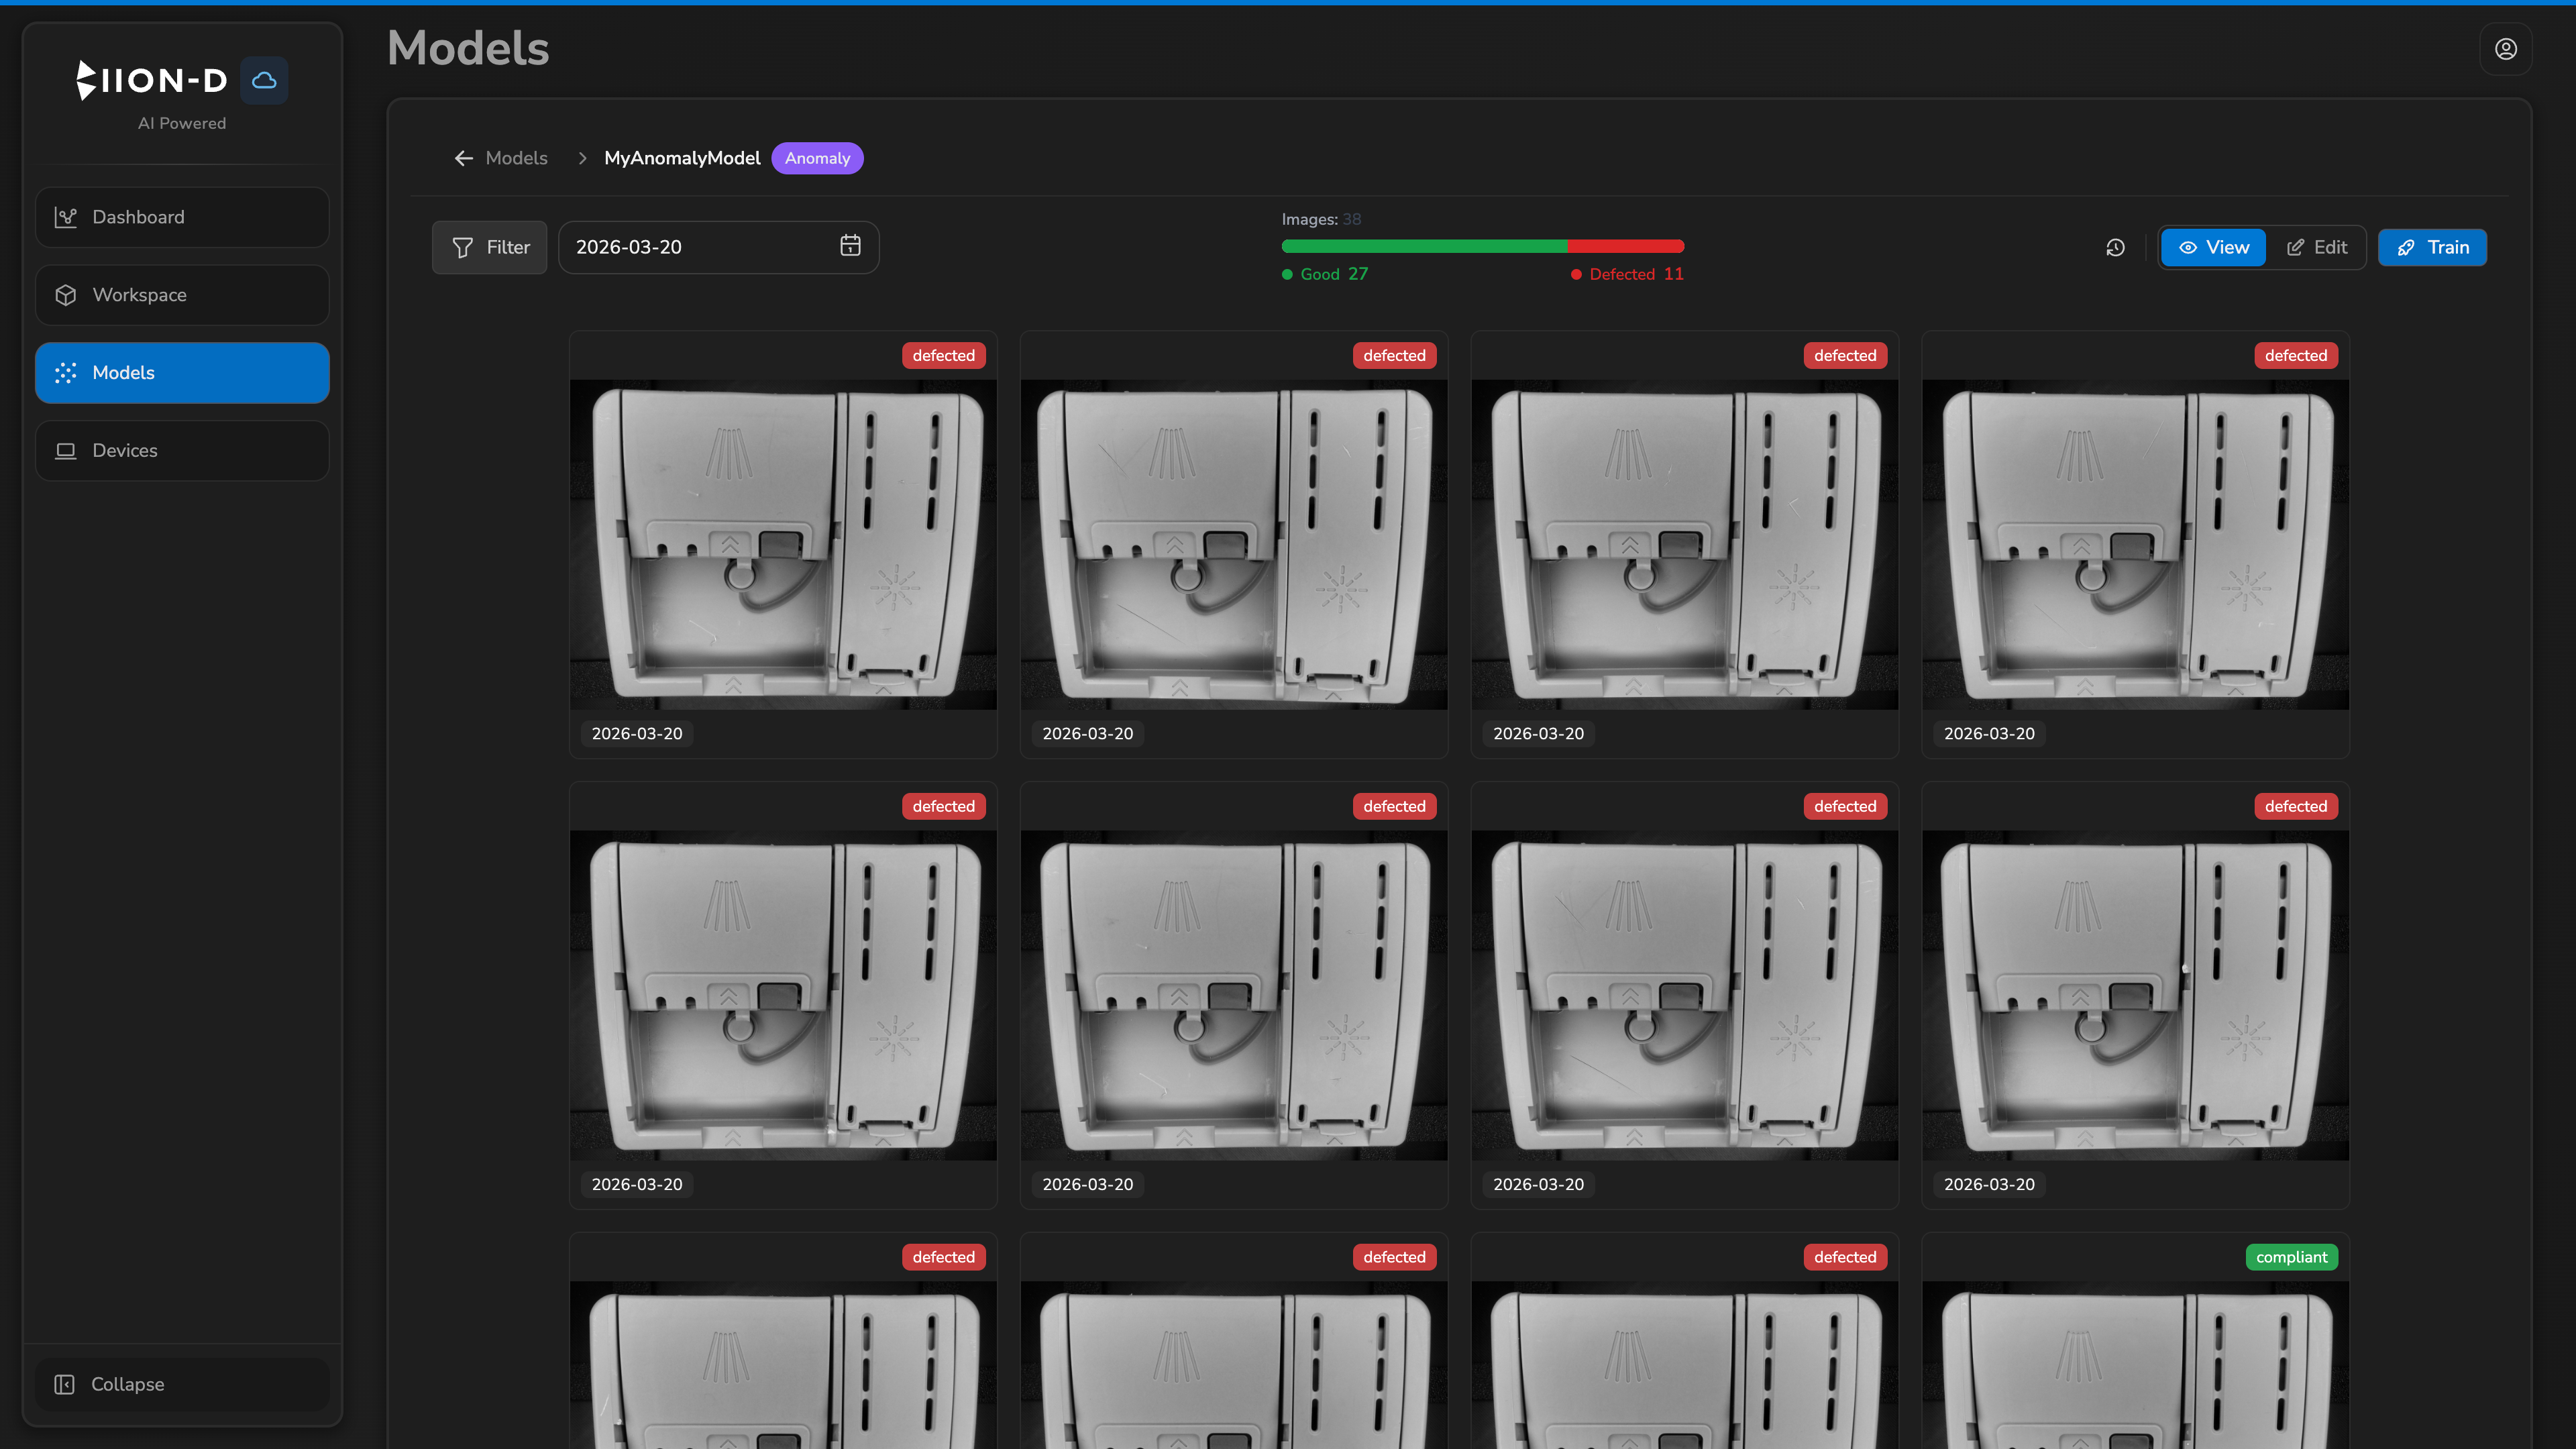
In the gallery view for AnomalyDetection models:
- Image badges: each image shows a compliance label badge (green, red, yellow, or gray)
- Edit mode: select images and use Compliant, Defected, Exclude, or Delete
- Compliance filter: filter images by label (Compliant, Defected, Uncertain, Unknown)
- Date range filter: filter images by capture date

The geometric annotation interface and Show Annotations toggle are not available for AnomalyDetection models, which use compliance labels instead.
See Image gallery for filters, viewing, and bulk operations.
Creating an AnomalyDetection Model
- Click + in the model list.
- Enter a model name and select AnomalyDetection as the type.
- Optionally select source models to import datasets:
- From another AnomalyDetection model: imports images + compliance labels (optional)
- From a YOLO model: imports images only
- Click Create Model.