Navigating the UI
A complete guide to navigating the BIION-D admin interface — sidebar, header and page structure.
This page explains how the BIION-D admin interface is structured and how to move between different sections.
Interface Layout
The admin interface consists of three main areas:
Sidebar (left)
The vertical sidebar provides navigation to all admin pages. It collapses to icons on portrait/narrow screens.
Header (top)
The header bar shows the current page name, contextual action buttons and a user menu.
The main content area fills the rest of the screen below the header and to the right of the sidebar.
Sidebar
The sidebar is always visible and contains buttons for each section of the admin panel:
| Icon | Page | Description |
|---|---|---|
 |
Workspace | Manage workspaces and action plans |
 |
Models | Upload and manage AI models and datasets |
 |
PLC | Configure PLC-driven automation tasks |
 |
Devices | Manage cameras, lights and PLC connections |
 |
Run | Execute pipelines on the active action plan |
 |
Timeline | Visual timeline of inspection results |
 |
History | Browse past execution results |
 |
Settings | System settings, network and logs |
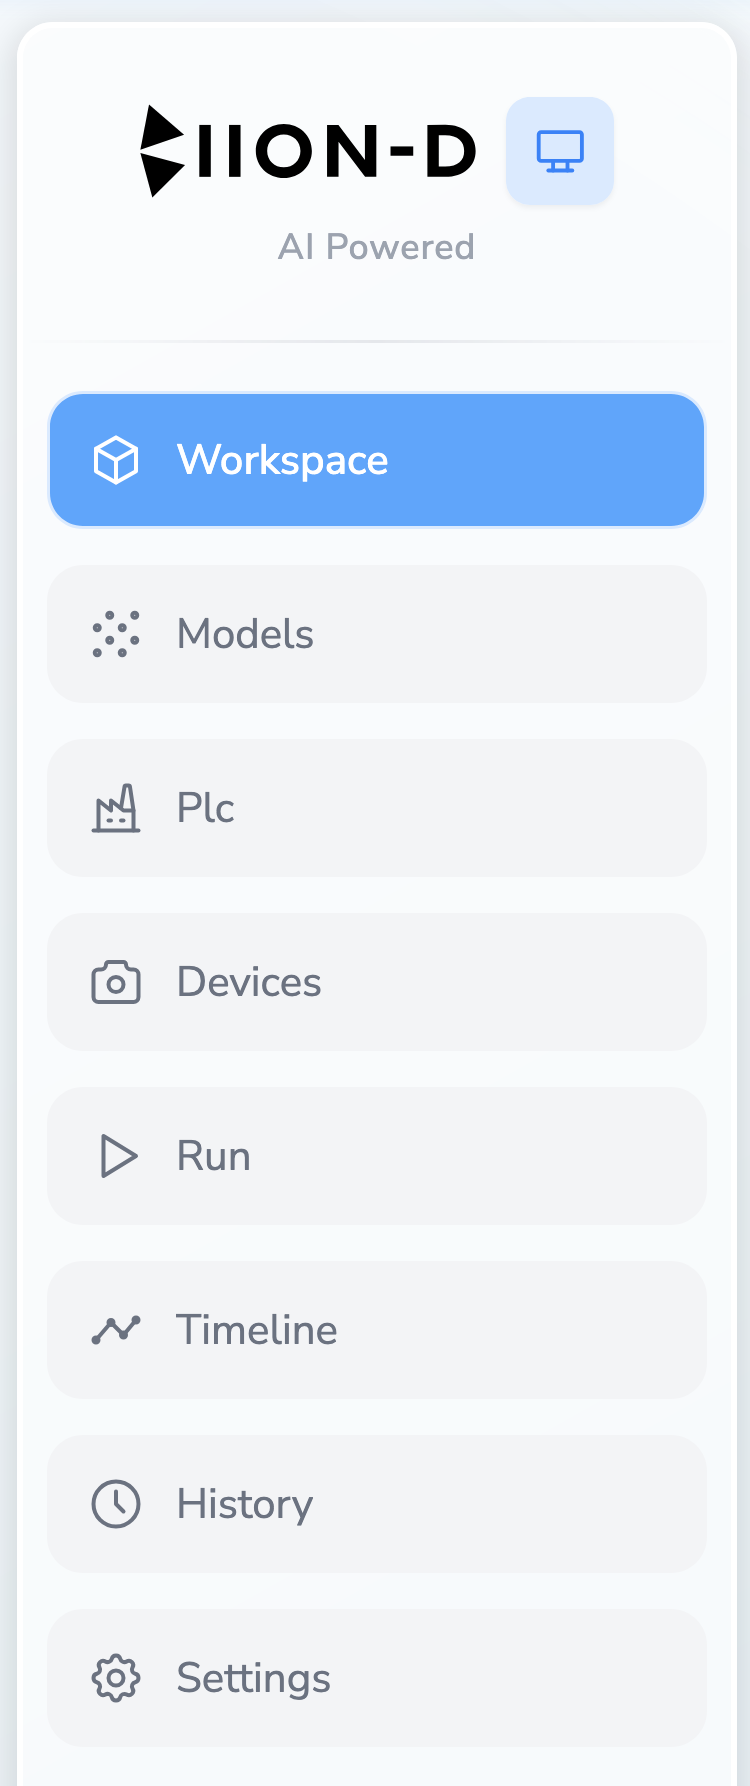
The current page is highlighted in blue and its button is disabled (not clickable). Click any other button to navigate to that page.
On narrow screens (portrait mode), the sidebar collapses to show only icons without text labels.
Header
The header bar at the top of every admin page contains:
| Element | Position | Description |
|---|---|---|
| Page title | Left | The name of the current page (e.g., “Workspace”, “Models”) |
| Additional text | Left (inline) | Contextual information such as workspace name and version |
| Action buttons | Center/Right | Page-specific buttons (e.g., Create, Import, Save) |
| Menu button (☰) | Far right | Opens a dropdown with navigation and session options |

Header Menu
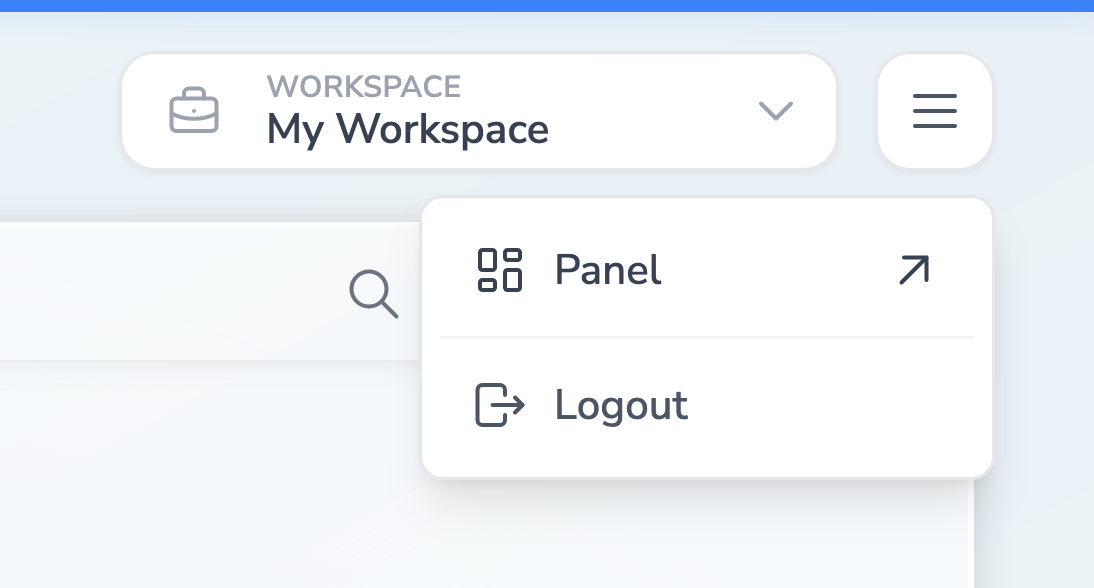
Click the ☰ menu button on the far right to reveal a dropdown with:
| Option | Description |
|---|---|
| Panel | Switch to the operator-facing User Panel (/panel) |
| Logout | End your session and return to the login screen |
Login Page
Before accessing the admin panel, you must authenticate on the Login page (/login). After successful login, you are redirected to the Workspace page.
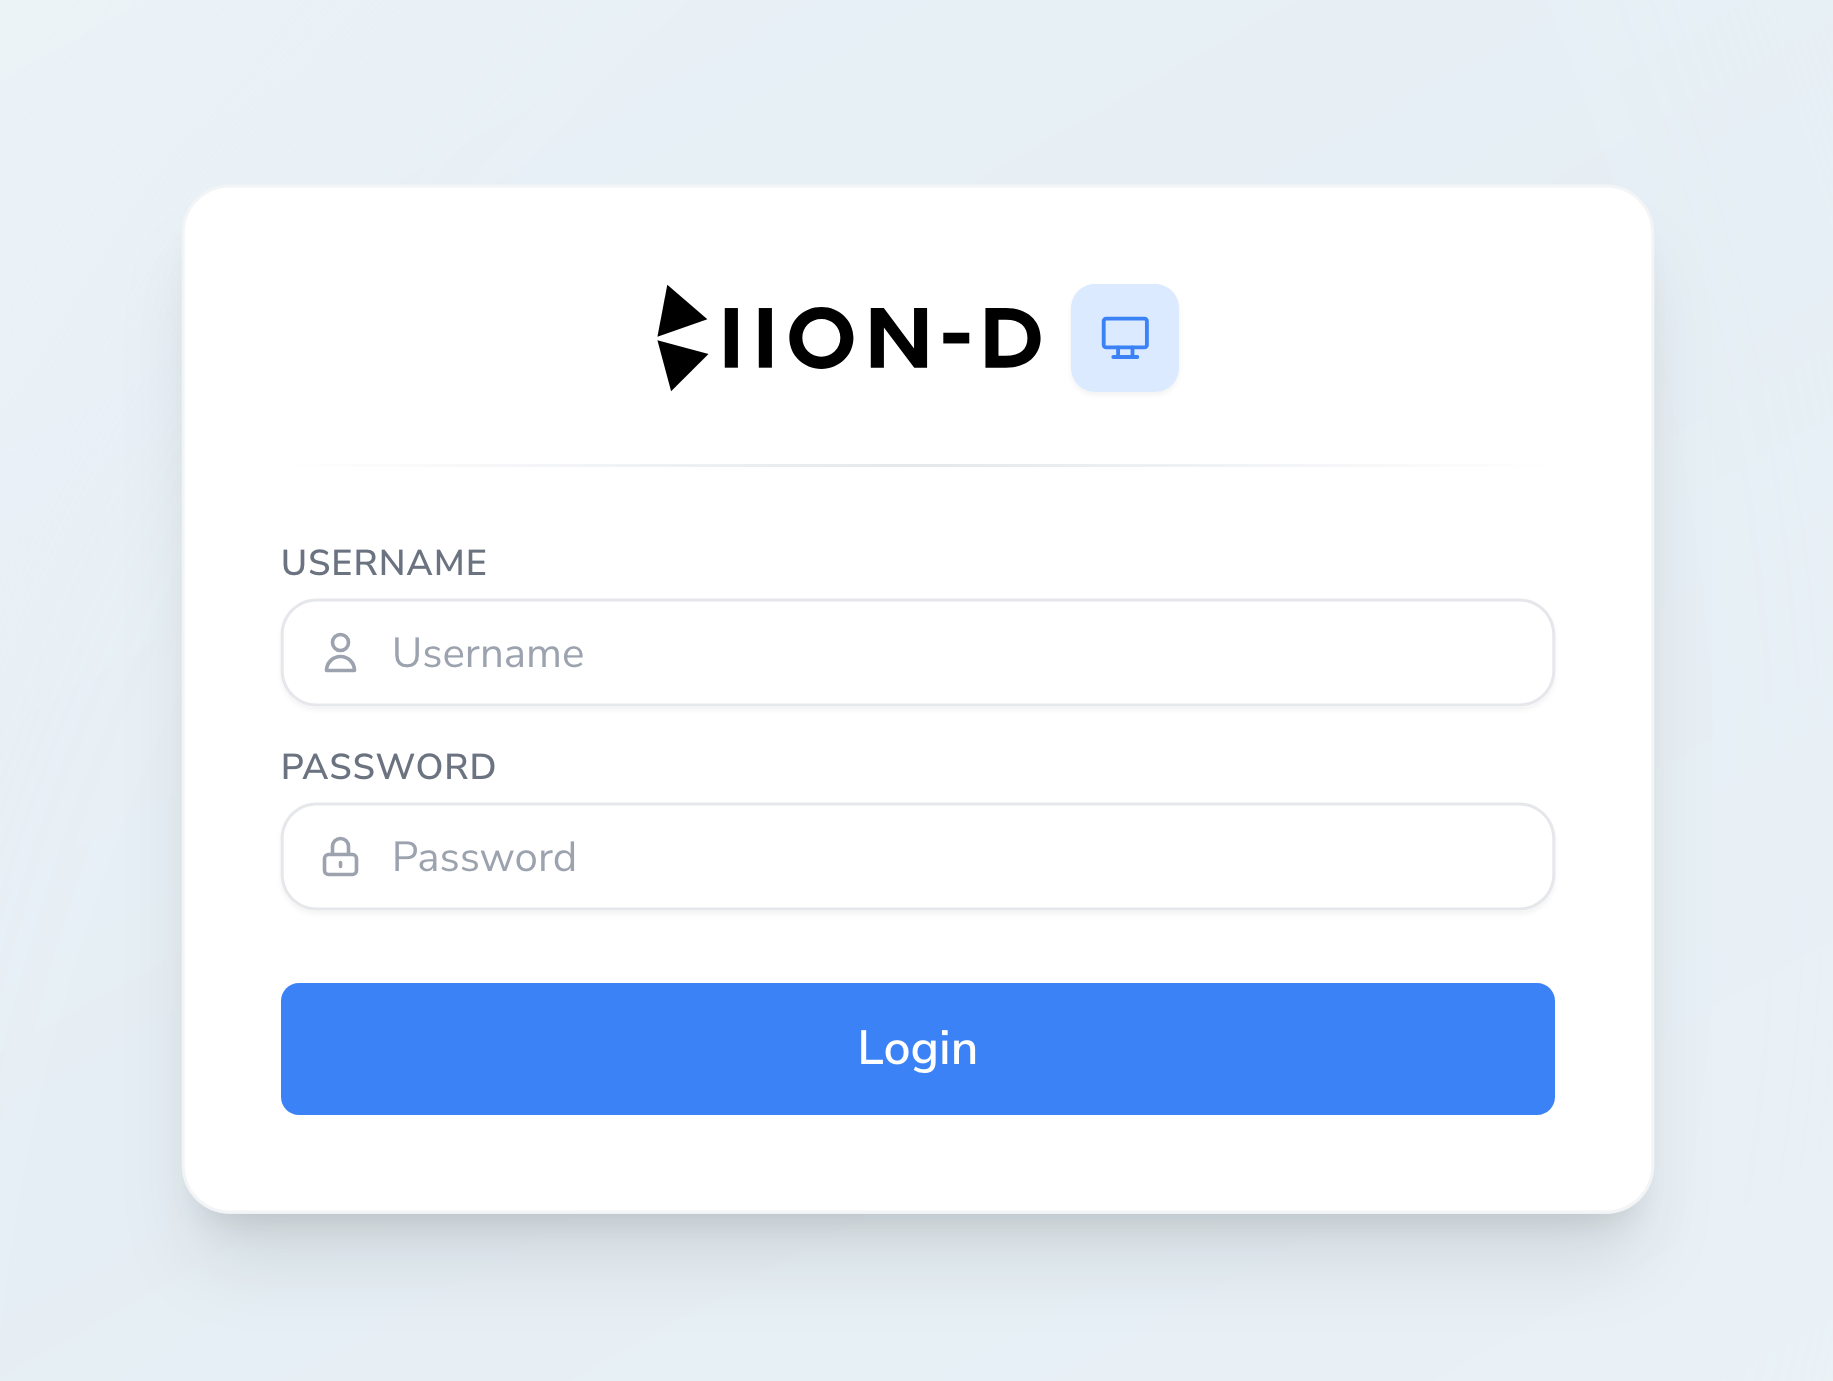
If you are already authenticated, navigating to /login will redirect you to the admin panel automatically.
Page Flow
The typical workflow through the admin interface follows this order:
Configure Workspace
Start on the Workspace page. Create or import a workspace, then set up action plans with pipelines.
Set Up Devices
Go to the Devices page to connect cameras, configure lights and set up PLC connections.
Upload Models
Navigate to the Models page to upload any AI models needed for inference pipelines.
Configure PLC (optional)
If using PLC-driven mode, visit the PLC page to map variables and configure tasks.
Run Pipelines
Go to the Run page to execute pipelines in acquisition or inference mode.
Review Results
Use the History and Timeline pages to analyze past inspection results.
Keyboard Shortcuts
| Shortcut | Context | Action |
|---|---|---|
| Ctrl+S / Cmd+S | Workspace editor | Save workspace changes |
| Escape | History detail view | Return to history table |
Responsive Behavior
- On wide screens (landscape), the sidebar shows both icons and text labels
- On narrow screens (portrait), the sidebar collapses to icons only
- All pages are designed to work on both desktop and tablet screen sizes